Hi folks!
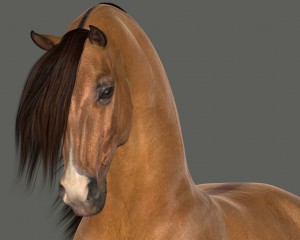
I’ve had a lot of people ask about how best to work with and pose the mane for the HiveWire Horse. I will be doing a series over the next 2-3 weeks on the Mane, Tail and Fetlocks for the HW Horse (or Harry, as I call him!) I had to start a new CWRW3D YouTube video channel (darn you, Google!:) so this newer channel will feature mainly “Harry” videos. I do have a link to my old CWRW3D channel on the new channel for those who still are following the DH2/want to see DH2 videos. For those who are wanting to follow the “Harry” videos, definitely subscribe to the new channel.
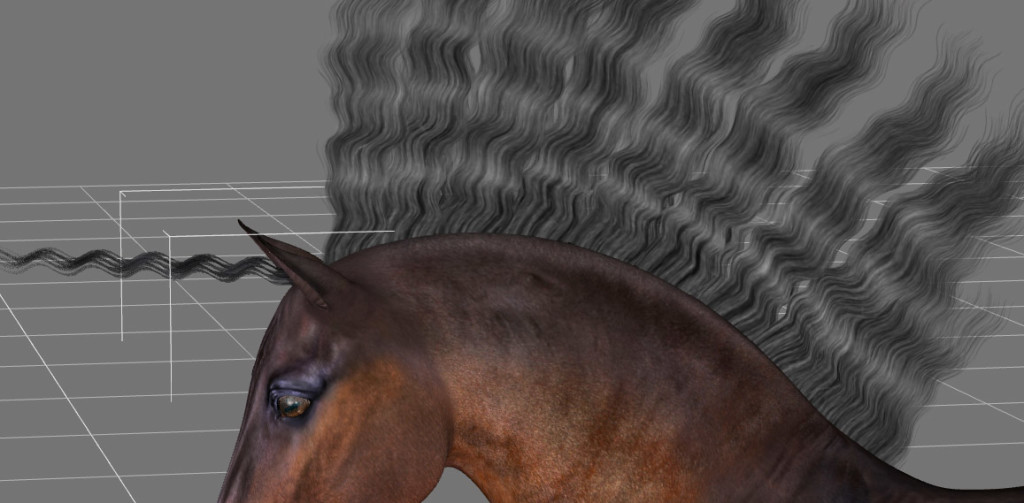
This first “Harry” video blog post is about the basics of the HW Horse Mane. as well as starting to “break the rules” for more advanced mane posing. The mane comes with so many options, for an infinite variety of looks, that at first working with it can be a little overwhelming. I start with the basics and divide up how the different mane “parts” work in detail and also show you a couple of nifty tricks you might not know about:)
I do show pointers in both Daz Studio and Poser (P9 in my case…) but most of the video capture takes place in Daz Studio 4.6 as their preview mode is more fluid and easier to see what I am doing as I do it. But I do point out the important points in Poser as well and the Poser equivalents of what I am showing in D/S, so regardless of whatever program you use/prefer, this video should help you better understand how to work with the Hive Wire Horse Mane in either program.
Please feel free to post questions here or you can email me as well. If there are enough questions etc, I will do a more in-depth video blog on the mane.
Til next time,
Happy Rendering!
Laurie
